Easy Brownie in a Mug
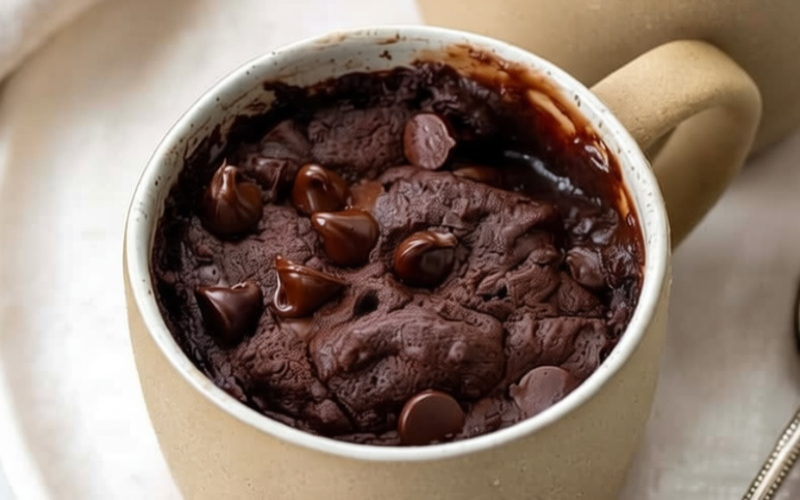
Craving a rich, chocolatey treat but don’t want to bake an entire pan? Let me show you how I make an easy brownie in a mug—ready in just a few minutes! This recipe is perfect for when you want a warm, fudgy brownie without the fuss. With simple ingredients you likely already have
Ingredients
- □ 3 tablespoons 3 tablespoons unsweetened cocoa powder
- □ 3 tablespoons 3 tablespoons all-purpose flour
- □ 3 tablespoons 3 tablespoons granulated sugar
- □ 1 1 heaping pinch kosher salt
- □ 3 tablespoons 3 tablespoons milk
- □ 1 tablespoons 2 ½ tablespoons vegetable oil
- □ 1 teaspoon ¼ teaspoon vanilla extract
- □ 2 tablespoons 2 tablespoons semi-sweet chocolate chips (plus extra for topping, optional)
- □ 1 I start by adding 3 tablespoons of cocoa powder, 3 tablespoons of flour, 3 tablespoons of sugar, and a pinch of salt directly into my mug. Using a spoon or small whisk, I stir them together until the mixture is uniform and free of lumps. This ensures that every bite has a consistent chocolatey flavor.
- □ 1 Next, I pour in 3 tablespoons of milk, 2 ½ tablespoons of vegetable oil, and ¼ teaspoon of vanilla extract. I gently stir everything together until I have a smooth, thick batter. The batter should be rich and slightly glossy, which is exactly what makes this mug brownie so fudgy.
Instructions
-
Making this brownie in a mug is super simple, and I love how quick it is—no oven, no mess, just a few minutes from start to finish. Here’s how I do it:
-
Finally, I add 2 tablespoons of semi-sweet chocolate chips to the batter. I like to save a few extra to sprinkle on top before microwaving—this gives the brownie a melty, irresistible chocolate layer that makes it extra decadent.
-
I place the mug in the microwave and cook on high for 60–70 seconds. Timing can vary depending on your microwave’s power, so I keep an eye on it. The brownie should rise slightly and look set on top but still soft and gooey in the center. Be careful not to overcook—it continues to firm up as it cools.
-
After microwaving, I like to sprinkle a few extra chocolate chips on top while the brownie is still warm so they melt slightly. Sometimes I add a scoop of vanilla ice cream or a dollop of whipped cream—this contrast between warm, gooey chocolate and cold, creamy topping is unbeatable. For a little extra flair, you can dust the top with powdered sugar or drizzle some chocolate syrup.
-
I usually grab a spoon and dig right in while it’s warm. If you want a slightly firmer texture, you can let the brownie cool for a few minutes; it will set more but still stay soft in the middle. Because it’s a single-serving mug brownie, there’s no need to worry about leftovers—it’s the perfect solo indulgence.
-
Since this is a single-serving brownie, I don’t recommend keeping it for long. However, if you make multiple mugs at once:
-
Room Temperature: Cover with plastic wrap or a small lid and store for up to 1 day.
-
Reheating: Microwave for 10–15 seconds to warm it back up—perfect for that fresh-from-the-microwave taste.
Why This Recipe Works: Craving a rich, chocolatey treat but don’t want to bake an entire pan? Let me show you how I make an easy brownie in a mug—ready in just a few minutes! This recipe is perfect for when you want a warm, fudgy brownie without the fuss. With simple ingredients you likely already have in your kitchen, it’s quick, indulgent, and absolutely satisfying.
Storage & Make-Ahead Tips: Even though I usually eat my mug brownie immediately (because who can resist?), it’s good to know how to store it or tweak the recipe for different cravings.